
Making quality visible
There is a fully equipped test workshop on our company premises in St. Andrä. We offer both stationary and mobile materials testing directly at your production or assembly site.
Perfection – through and through
With our fully equipped mobile and stationary X-ray and development system, we also offer on-site testing.
Advantages
- Full protection container
- No barrier required for radiation protection
- No night working hours necessary
- No production downtime due to radiation
- Radiographic testing during the work process
We offer
Inspection of aluminum, steel, cast and forged parts as well as ceramics and other materials in series production, individual parts and prototypes.
- Full protection container
- No barrier required for radiation protection
- No night working hours necessary
- No production downtime due to radiation
- Radiographic testing during the work process
- DIN EN ISO 5579
- Basics of radiographic testing
- DIN EN ISO 17635
- NDT of welded joints, general rules
- DIN EN ISO 17636
- Radiographic testing, test classes -1: X-ray and gamma
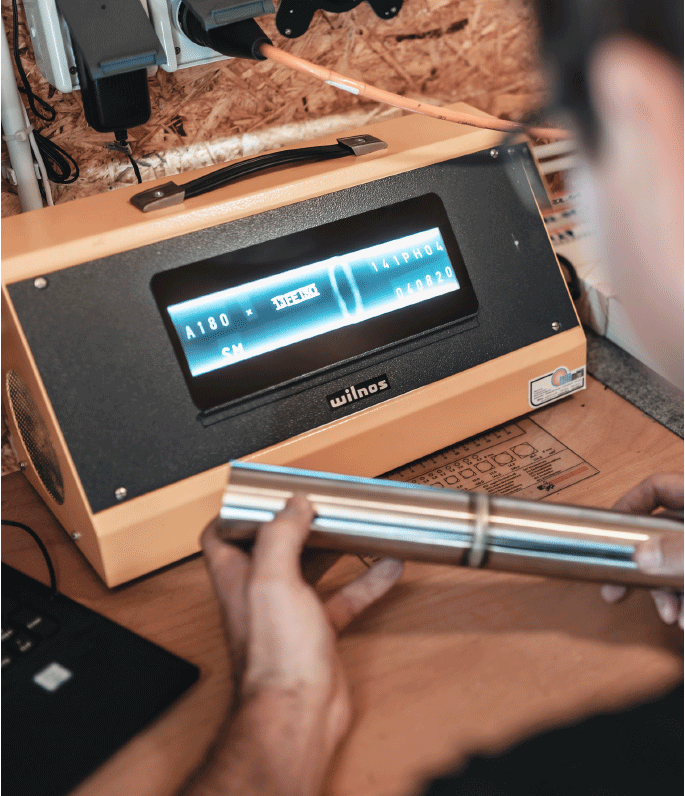
Visual testing – Visual Testing VT
EN 13018
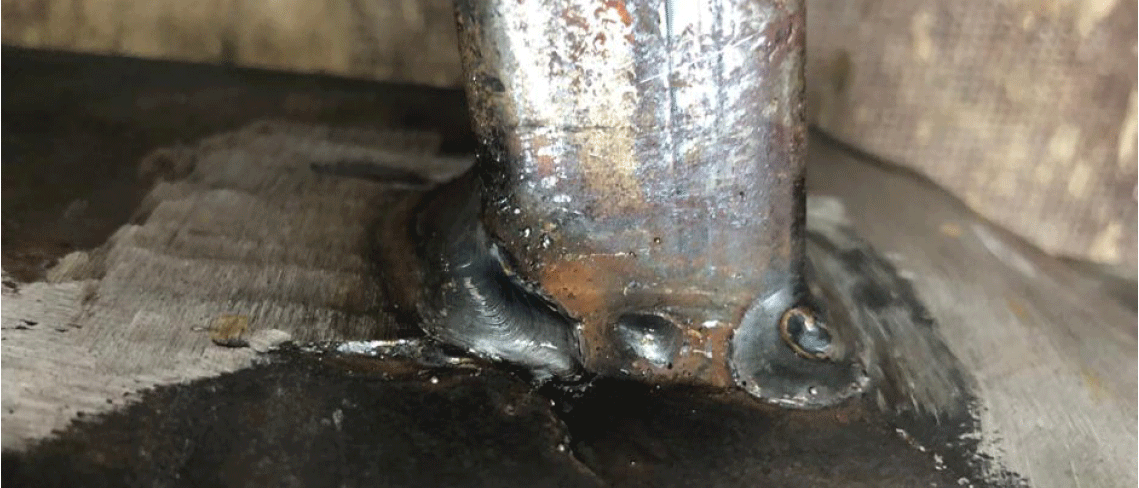
Visual inspection is an important part of non-destructive testing and has a high priority in many regulations. By carrying out the visual inspection before, during or after the welding process, external fault characteristics can be detected at an early stage, which enables rapid feedback to the production process and thus contributes to a higher quality of the welded joints.
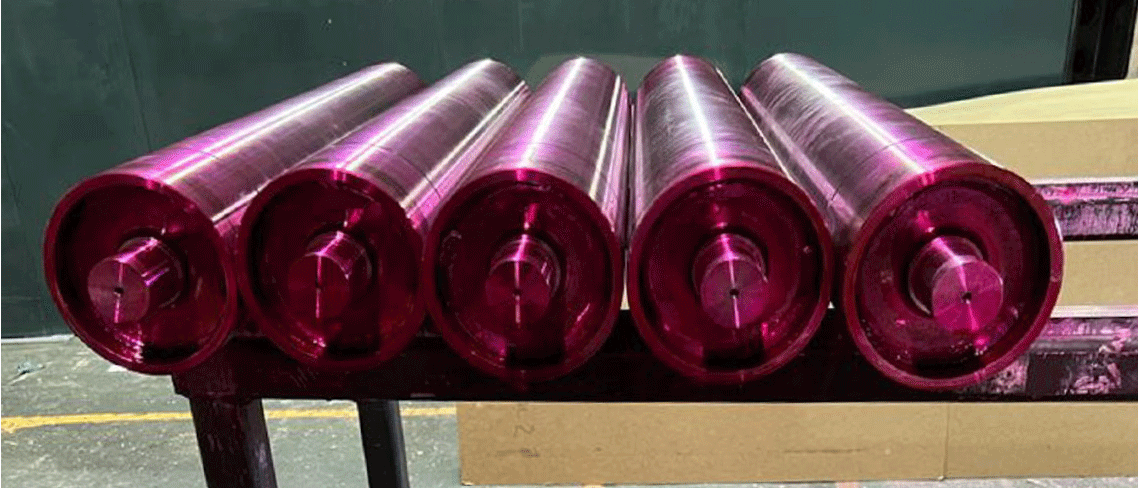
Penetrant Testing PT
EN ISO 3452-1
Penetrant testing is a non-destructive method for detecting open irregularities in the weld seam. The capillary effect makes even fine irregularities such as cracks or binding defects visible. The procedure consists of treating the test piece with a penetrant, then cleaning the surface with a developer and displaying the irregularities. It enables fast and precise fault analysis without damaging the workpiece.
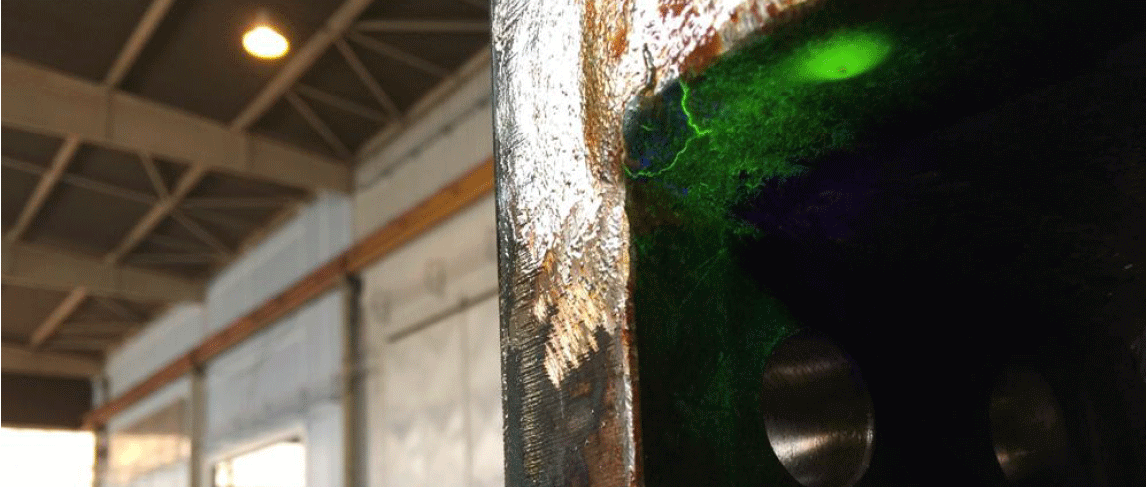
Magnetic particle testing – Magnetic Particle Testing MT
EN ISO 9934-1
Magnetic particle testing is a non-destructive testing method for magnetizable materials such as steel. This introduces a strong magnetic field into the component and material separations, such as cracks or bonding defects, impair the conductivity of the magnetic field. The particles of magnetic powder, which have been slurried in water or oil, indicate the locations of cracks or binding defects.
Ultrasonic testing – Ultrasonic Testing UT
EN ISO 16810 – From fall 2023
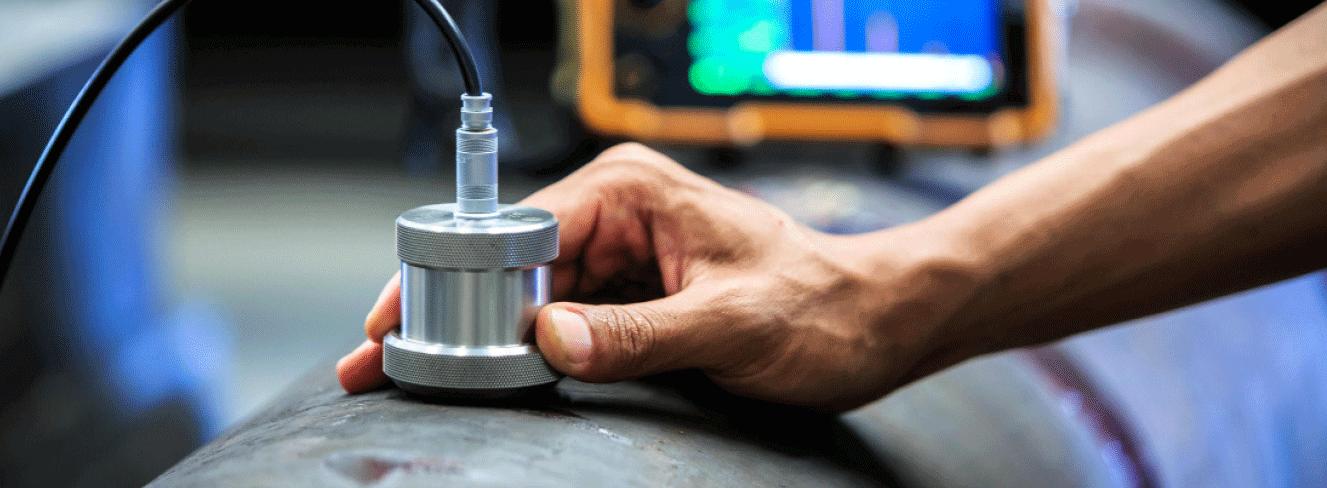
Ultrasonic testing is particularly suitable for detecting surface irregularities such as cracks or bonding defects in weld seams. It complements well with radiographic methods and is suitable for sound-conducting
Materials. TOFD and phased array are special ultrasonic testing methods that are used to test weld seams and enable the length, height and depth of defects to be determined precisely.
Radiographic testing – Radiographic Testing RT
EN ISO 5579
Radiographic testing is an imaging method for testing materials without damaging them. This determines the density and thickness of the workpiece and identifies defects. To successfully complete the test,
the radiation must be adjusted to the component by adapting the intensity, wavelength and exposure time to the thickness and density of the workpiece.

